
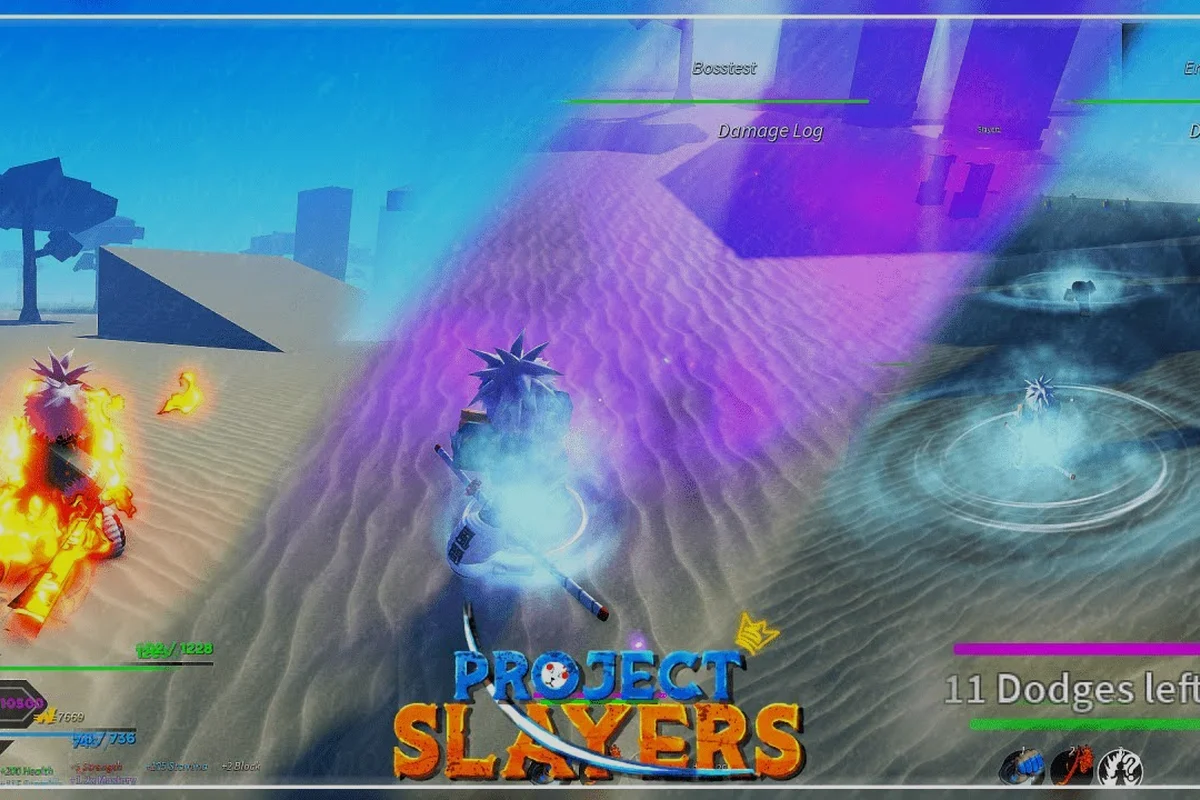
Your opening hour in Slayers 2 decides whether you stabilize early or spend the next three sessions clawing back lost progress. This Slayers 2 first hour guide breaks down the exact quest chain, combat habits, and resource priorities that keep your run alive before the real grind begins. Get the early quest routing, breathing style timing, and survival checks right, and Map 1 stops feeling like a death loop.
Quest Chain Priority in Your First Hour
The opening quest sequence in Slayers 2 is not optional flavor text. It gates your first breathing style, your starter weapon upgrade path, and your access to the Final Selection area. Skipping side objectives early feels efficient, but it leaves you under-leveled for the first Demon encounter that blocks the main road.
According to the official Slayers 2 Roblox game page, the first-hour progression loop centers on completing early quests and defeating low-tier mobs to unlock your initial skill tree nodes before tougher enemies scale up.
Main Quest Order and Why It Matters
Your first hour should follow a strict priority order. The main quest line pushes you through the starter village, the Butterfly Mansion tutorial zone, and into the first open combat area. Each completed main objective awards XP, Wen, and occasionally a skill point that you need before the first boss check.
| Quest Step | Location | Key Reward | Time Investment |
|---|---|---|---|
| Starter Village Introduction | Map 1 Village | Basic Katana, 100 Wen | 3-5 minutes |
| Butterfly Mansion Tutorial | Butterfly Mansion | Combat basics, first skill point | 8-10 minutes |
| First Demon Hunt | Map 1 Forest Edge | 250 XP, Demon Fang | 10-15 minutes |
| Breathing Style Unlock | Trainer NPC | Breathing style selection | 5 minutes |
| Final Selection Prep | Village Gate | Access to Final Selection | 5-8 minutes |
The Breathing Style Unlock step is the most important decision in your first hour. Your choice between Water Breathing, Thunder Breathing, Wind Breathing, and the other styles shapes your entire early combat loop. According to the official Ouw Productions YouTube channel showcases, each style has distinct move sets and hitbox behaviors, so picking one that matches your playstyle matters more than chasing a tier list.
Side Quests That Are Actually Worth Your Time
Not every side quest in Map 1 deserves your first-hour attention. The Slayers 2 side quests guide approach that works best is selective: grab quests that overlap with your main route, skip ones that send you to distant corners. Community reports consistently flag three side quests as high-value early.
-
The Lost Satchel quest overlaps with the first Demon Hunt route, so you complete both in one trip.
-
The Wisteria Collection quest teaches you the Wisteria Poison mechanic, which you need for the first boss fight.
-
The Injured Slayer quest rewards a Stamina Charm that makes early combat noticeably more forgiving.
The rest of the Map 1 side quests can wait. They reward small amounts of Wen and XP that you can farm more efficiently after you unlock your breathing style. The full unlockable checklist is covered in the Slayers 2 unlockables guide, which tracks every early progression milestone you should hit before moving to Map 2.
Combat Fundamentals Before Your First Boss
Most new players die in Slayers 2 because they treat combat like a button-mash brawler, burning through their stamina bar with reckless M1 chains and leaving themselves wide open to counterattacks. The game punishes that approach hard — every missed block against a demon's heavy swing can chunk 30–40% of your starting HP, and panic-dodging drains the same stamina you need for follow-up strikes. Your first hour should focus on three fundamentals: stamina management, block timing, and breathing style rhythm. For stamina, practice the "two-hit, one-block" cadence against the training dummies near the starting village — two light attacks, then a deliberate pause to let your bar recover before committing again. Block timing is best drilled against the first quest's demon spawns: watch for the telltale shoulder dip before their overhead swing and tap block at the last possible frame to trigger a perfect parry, which staggers them for a free counter. Breathing style rhythm ties both together — activate your breathing buff only when your stamina is above 60%, since the damage multiplier is wasted if you can't sustain the attack chain that follows.
Stamina Management and Attack Windows
Every attack, dash, and block consumes stamina. Running out of stamina mid-fight leaves you unable to dodge, which against a Demon means death. The core loop is simple: attack twice, dash once, let stamina recover. The Stamina Charm from the Injured Slayer side quest extends your effective combat window by roughly 15% based on community testing.
| Combat Action | Stamina Cost | Recovery Time | Best Use Case |
|---|---|---|---|
| Basic Attack | Low | Fast | Bread-and-butter damage |
| Heavy Attack | Medium | Medium | Opening after enemy whiff |
| Dash | Medium | Fast | Repositioning, escape |
| Block | Low (drain over time) | Slow | Parry windows, boss patterns |
| Breathing Art | High | Slow | Burst damage, combo finisher |
The block timing mechanic is where Slayers 2 separates itself from other Roblox anime RPGs. A well-timed block negates all damage and briefly staggers the enemy, opening a free attack window. A mistimed block still reduces damage but drains stamina quickly. Practice the timing on the first Demon before you commit to aggressive play.
Breathing Style Selection and Early Rhythm
Your breathing style choice in the first hour locks in your skill tree direction. The official Ouw Productions YouTube channel has dedicated showcases for Sound Breathing, Flame Breathing, Thunder Breathing, Water Breathing, Wind Breathing, Stone Breathing, and Insect Breathing, plus the Ice Manipulation, Shockwave, Dream Manipulation, Tamari, and Explosive Blood Demon Art lines. Each showcase demonstrates the move set and rhythm, so watching your chosen style before committing saves you a respec headache.
The Slayers 2 quest walkthrough community consensus is that Water Breathing offers the most forgiving early curve because its moves have wide hitboxes and moderate stamina costs. Thunder Breathing hits harder but demands tighter positioning. Your first hour is not the time to experiment with every style; pick one, learn its two core moves, and commit.
Map 1 Survival Checklist and Resource Priorities
Map 1's layout hides three Demon spawn clusters behind breakable walls that the Minimap does not reveal until you physically approach them, so first-time players routinely detour into level-14 Demons while still carrying the starter Wooden Sword. The real priority order is: grab the Herb node near the east gate, trigger the Lever that opens the shortcut back to the Save Crystal, then clear only the two Slime packs that drop Iron Ore for your first Weapon Upgrade. Optional Demons award Soul Shards, but killing them before unlocking the Soul Forge wastes the 8–10 minutes you need to reach the Boss Gate before the Day/Night Cycle shifts enemy aggression.
The 60-Minute Survival Checklist
This checklist assumes you start fresh and follow the main quest priority order from the first section, but your exact route through the first hour will vary depending on how quickly you clear the Butterfly Mansion Tutorial and whether you detour for the Lost Satchel side quest. Adjust based on your pace, but do not skip the Wen farming step — the repeatable village quests are the only reliable source of 500 Wen before Final Selection, and without that sum you cannot afford the Iron Katana upgrade from the blacksmith. Entering Final Selection with the Basic Katana instead of the Iron Katana roughly halves your damage output, which turns every demon encounter into a longer, riskier fight.
- Complete Starter Village Introduction and equip your Basic Katana
- Finish Butterfly Mansion Tutorial and claim your first skill point
- Grab the Lost Satchel side quest before heading to the Forest Edge
- Complete First Demon Hunt and collect the Demon Fang
- Finish Wisteria Collection and learn the Wisteria Poison mechanic
- Unlock your breathing style at the Trainer NPC
- Farm 500 Wen from repeatable village quests
- Buy the Iron Katana upgrade from the blacksmith
- Complete Final Selection Prep and enter Final Selection
The Iron Katana upgrade is the single best Wen investment in your first hour. It roughly doubles your base damage output, which makes every subsequent fight faster and safer. The blacksmith also sells Health Charms and Stamina Charms, but the weapon upgrade comes first.
Wen Farming and What to Skip
Wen is the primary currency in Slayers 2, and your first hour income is tight. The most efficient Wen farm in Map 1 is the repeatable Village Delivery quest, which pays 50 Wen per completion and takes under two minutes once you know the route. Community reports suggest you can complete it five to six times in ten minutes, netting 250-300 Wen.
| Wen Source | Approx. Wen per Run | Time per Run | Efficiency Rating |
|---|---|---|---|
| Village Delivery quest | 50 | 2 minutes | High |
| Demon Fang turn-in | 80 | 5 minutes | Medium |
| Forest Edge mob farming | 30-40 | 4 minutes | Low |
| Side quest one-time rewards | 100-150 | Varies | Medium |
Skip the Forest Edge mob farming loop entirely in your first hour. The XP is mediocre, the Wen is worse, and the risk of dying to a patrolling Demon is high. Focus on quest rewards and the delivery loop until you have your Iron Katana.
Final Selection Timing and First Boss Preparation
Final Selection is the first major gate in Slayers 2. Entering it under-prepared wastes your time and forces a restart. The right timing is after you have your Iron Katana, your breathing style unlocked, and at least one Health Charm equipped.
When to Enter Final Selection
The game does not hard-lock Final Selection behind a level requirement, but community consensus places the comfortable entry point at level 8-10 with an upgraded weapon. Entering at level 5 with a Basic Katana is possible but miserable. The Demon inside Final Selection has a grab attack that punishes low-health builds instantly.
| Preparation Check | Recommended State | Why It Matters |
|---|---|---|
| Weapon | Iron Katana or better | Damage output check |
| Level | 8-10 | HP and stamina pool |
| Breathing Style | Unlocked, 2 moves learned | Burst damage access |
| Health Charm | At least 1 equipped | Survive grab attack |
| Wisteria Poison | Applied to weapon | Bonus damage vs Demons |
The Wisteria Poison mechanic from the earlier side quest becomes critical here. Applying it to your weapon before entering Final Selection gives you bonus damage against the boss, which shortens the fight and reduces your exposure to the grab attack. The Slayers 2 main story guide covers the full chapter progression after you clear this gate.
First Boss Pattern Recognition
The first boss inside Final Selection follows a simple three-move pattern: slash combo, grab attempt, and charge. The slash combo is blockable, the grab must be dodged, and the charge can be punished with a dash behind the boss. Learning this pattern is the difference between a one-attempt clear and a frustrating death loop.
The Slayers 2 main quest guide routing through Final Selection emphasizes patience over aggression. The boss punishes greedy players who overcommit to long attack strings. Two hits, dash out, reassess. This rhythm carries through the entire early game and into the Map 2 content covered in the Slayers 2 unlocking Map 2 guide.
Frequently Asked Questions
What is the fastest way to level up in the first hour?
Focus on the main quest chain and overlap side quests that share the same route. The First Demon Hunt, Lost Satchel, and Wisteria Collection can all be completed in one Forest Edge trip, netting roughly 500 XP total. Repeatable delivery quests add steady XP between objectives.
Which breathing style should I pick as a beginner?
Water Breathing is the most forgiving starter style because its moves have wide hitboxes and moderate stamina costs. Thunder Breathing deals more damage but requires tighter positioning. Watch the official Ouw Productions showcase for your chosen style before committing, since respecs are limited early.
How much Wen do I need before Final Selection?
Aim for at least 500 Wen to buy the Iron Katana upgrade and one Health Charm. The weapon upgrade is non-negotiable because it roughly doubles your base damage. The charm gives you enough HP to survive the boss grab attack.
Can I skip side quests in the first hour?
You can skip most side quests, but the Wisteria Collection quest teaches the Wisteria Poison mechanic that gives bonus damage against Demons. The Injured Slayer quest rewards a Stamina Charm that makes early combat significantly more forgiving. Both are worth the detour.
What level should I be before entering Final Selection?
Community consensus places the comfortable entry point at level 8-10 with an upgraded weapon and at least one Health Charm. Entering below level 8 is possible but makes the first boss fight punishingly difficult, especially if you have not learned your breathing style's two core moves.