
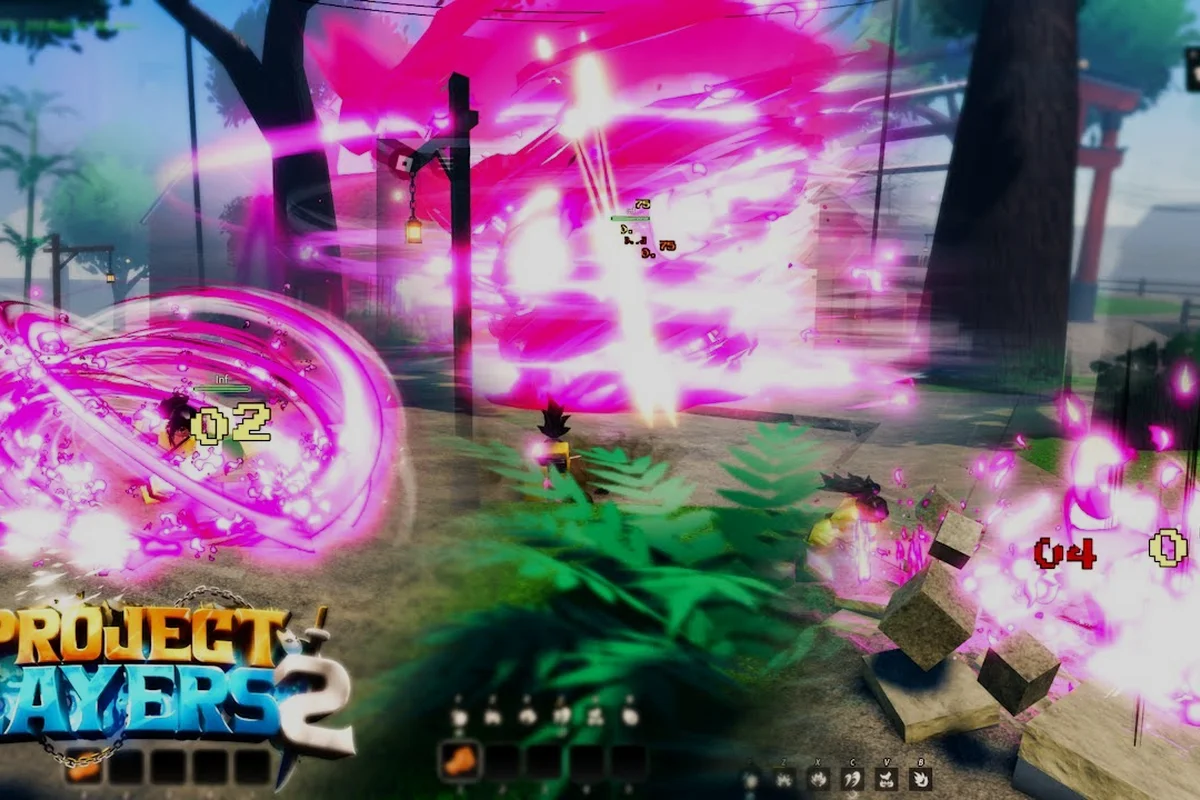
Solo bossing in Slayers 2 is the fastest way to earn rare drops and prove your build without relying on a party, but it demands more than raw damage output. The real skill lies in reading attack patterns, managing stamina between punish windows, and knowing which targets are realistic for a single player. This guide breaks down the easiest bosses to start with, the hardest world bosses that punish mistakes, and the timing tells that separate clean clears from frustrating wipes.
Reading Telegraphs and Punish Timings
Every boss in Slayers 2 operates on a predictable loop, and learning that loop is the foundation of any successful solo run. Bosses do not attack randomly, although their patterns can feel chaotic when multiple mechanics overlap. Instead, each encounter cycles through a set of telegraphed moves that leave specific openings for counterattacks.
The most important concept for solo players is the punish window, which is the short period after a boss finishes an attack when it cannot act. Recognizing these windows requires watching for visual tells that occur before each move. A boss that raises its weapon overhead will typically follow with a downward slam, while a boss that crouches low is often preparing a dash or lunge.
Community testing on the official Slayers 2 Roblox game page confirms that the experience is designed around these readable patterns rather than reaction-speed checks. Players who memorize the sequence can consistently avoid damage even with lower-tier gear.
Common Attack Pattern Categories
| Pattern Type | Visual Tell | Solo Counter | Risk Level |
|---|---|---|---|
| Overhead Slam | Weapon raised vertically | Sidestep, then punish | Low |
| Sweep Attack | Weapon pulled to one side | Backstep or block | Medium |
| Charge/Dash | Boss crouches briefly | Dodge sideways | Medium |
| AoE Burst | Glowing circle on ground | Sprint out of radius | High |
| Grab/Stun | Boss arm extends forward | Roll backward twice | High |
The AoE Burst pattern is the most dangerous for solo players because it punishes greedy positioning. When you see a glowing circle forming under your character, the correct response is to sprint out immediately rather than trying to land one more hit. Bosses that chain an AoE burst after a dash often catch players who dodged the first move but stayed too close.
Reading Multi-Phase Transitions
Most Slayers 2 bosses shift behavior at health thresholds, typically around 50% and 25% remaining HP. These phase transitions often reset the attack loop and introduce new moves, which is why solo runs fail most frequently at these points. A boss that spent the first phase using slow overhead slams might suddenly add a fast sweep or a ranged projectile.
The key to surviving phase transitions is burst discipline. When a boss approaches a threshold, stop attacking and reposition to a safe distance. Let the transition animation play out, observe the new opening pattern, and only then re-engage. Players who tunnel on damage during transitions eat avoidable hits that snowball into a wipe.
Ranking the Easiest Bosses for Solo Players
Not all Slayers 2 bosses are created equal, and picking the right starting target makes a massive difference in your solo progression. The easiest bosses share three traits: slow attack animations, small AoE coverage, and generous punish windows after each move. These encounters let you practice pattern recognition without harsh punishment for mistakes.
According to community data from the r/ProjectSlayers subreddit, newer players consistently report success against early-game bosses before struggling with world-tier encounters. The gap between an easy boss and a hard boss is often less about raw stats and more about how forgiving the attack patterns are.
Easiest Solo Boss Tier List
| Boss Tier | Attack Speed | Punish Window | Solo Difficulty | Recommended Level |
|---|---|---|---|---|
| Starter Bosses | Slow | Very generous | Easy | Any |
| Mid-Game Bosses | Moderate | Standard | Medium | 30+ |
| World Bosses | Fast | Short | Hard | 50+ |
| Raid Bosses | Variable | Tight | Very Hard | 60+ |
The Starter Bosses category is where every solo player should begin. These encounters feature single-move patterns with long recovery times, allowing you to land full combos after each dodge. They also drop useful early materials that upgrade your gear before you tackle harder content.
Why Starter Bosses Are Ideal Practice
Starter bosses serve as the tutorial for Slayers 2 combat fundamentals. Their slow attacks force you to learn the dodge timing without the pressure of instant death, and their predictable loops let you experiment with different approaches. A player who can clear a starter boss without taking damage is ready to attempt mid-game targets.
The progression path from starter bosses to world bosses should be gradual. Rushing into a world boss with starter-tier gear and no pattern knowledge is the most common solo mistake. Instead, use each easier boss as a stepping stone that builds both your mechanical skill and your equipment baseline.
Hardest World Bosses and What Makes Them Brutal
The hardest Slayers 2 world bosses are designed to challenge coordinated parties, which means solo players face an uphill battle from the start. These encounters feature fast attack chains, overlapping AoE zones, and tight punish windows that leave almost no room for error. Understanding what makes them difficult is the first step toward eventually clearing them alone.
World bosses typically have enrage timers that activate if you take too long, dramatically increasing their attack speed and damage output. This mechanic punishes overly defensive solo play, forcing you to balance survival with consistent damage. Players who play too safe run out the clock, while players who play too aggressive die to avoidable hits.
World Boss Difficulty Breakdown
| World Boss Trait | Solo Impact | Mitigation Strategy |
|---|---|---|
| Fast Attack Chains | Minimal reaction time | Pre-position before tells |
| Overlapping AoEs | Forced constant movement | Learn safe zone patterns |
| Enrage Timer | DPS check pressure | Optimize damage rotation |
| Phase 3 Adds | Split attention required | Use AoE clearing skills |
| Unblockable Grabs | Instant heavy damage | Memorize grab tells early |
The Phase 3 Adds mechanic is particularly punishing for solo players because it forces you to split attention between the boss and additional enemies. Without a party to handle adds, you must either clear them quickly with AoE skills or kite them while continuing to damage the boss. Neither option is easy when the boss is also pressuring you.
The Solo Viability Gap
Some world bosses are simply not designed for solo clears at current gear levels, and recognizing that is important. Community reports indicate that certain world bosses remain uncleared by solo players even with optimized builds, while others are manageable with enough practice and the right setup. The gap often comes down to whether the boss has mechanics that require multiple players to handle simultaneously.
Before committing hours to a solo world boss attempt, check whether the encounter has any split-mechanic requirements. Bosses that demand two players stand on separate pressure plates, or that spawn adds on opposite sides of the arena, are effectively impossible solo regardless of skill. Focus your solo efforts on bosses with mechanics that one player can handle.
Essential Slayers 2 Boss Tips for Solo Success
Solo bossing success comes down to preparation as much as execution. The right build, consumables, and positioning habits can turn a frustrating encounter into a manageable one. These tips focus on the practical adjustments that make the biggest difference when you are fighting alone.
Your breathing style choice matters more for solo play than for party play because you cannot rely on teammates to cover your weaknesses. Defensive breathing styles with built-in healing or damage reduction give you more room for error, while aggressive styles demand perfect execution. The official Ouw Productions YouTube channel showcases the full range of breathing styles and demon arts, which helps you compare options before committing.
Pre-Fight Preparation Checklist
-
Stock healing items before every attempt, as solo runs consume more resources than party runs
-
Repair or upgrade gear to avoid mid-fight durability breaks that end runs
-
Learn the boss spawn location so you can retry quickly after a death
-
Clear nearby mobs to prevent adds from interfering during the fight
-
Set your hotbar with healing and mobility skills in easy-to-reach slots
The hotbar setup tip is often overlooked but critically important. When a boss is pressuring you, fumbling for a healing item costs precious seconds that often lead to death. Arrange your consumables and defensive skills so that your most-used panic buttons are adjacent to your movement keys.
Positioning and Stamina Management
Solo players cannot afford to waste stamina on unnecessary dodges. Every roll or sprint consumes stamina that you might need for a critical escape later in the fight. The discipline of stamina budgeting means only dodging when an attack actually threatens you, rather than reacting to every boss movement.
Position yourself at the edge of the boss's attack range rather than directly adjacent. This gives you more time to react to tells and creates natural spacing that reduces the frequency of attacks you need to dodge. When the boss commits to a move, close the distance, land your combo, and retreat before the next attack cycle begins.
Building a Solo Boss Progression Route
A structured progression route prevents the frustration of banging your head against bosses you are not ready for. The ideal solo path moves from starter bosses through mid-game targets to world bosses, with gear upgrades and pattern practice at each stage. This route also helps you build the mechanical habits that carry into harder encounters.
The Slayers 2 boss respawn guide covers spawn locations and respawn timers in detail, which is essential for efficient solo farming. Knowing exactly where a boss spawns and how long you must wait between attempts turns wasted time into productive practice.
Recommended Solo Progression Order
| Step | Boss Category | Goal | Key Focus |
|---|---|---|---|
| 1 | Starter Bosses | Learn dodge timing | Pattern recognition |
| 2 | Starter Bosses | Farm early gear | Consistent clears |
| 3 | Mid-Game Bosses | Upgrade equipment | Punish window usage |
| 4 | Mid-Game Bosses | Practice phase transitions | Burst discipline |
| 5 | World Bosses | Attempt first solo clear | Full execution |
Each step builds on the previous one, and skipping ahead usually results in wasted time and resources. The gear checkpoints between steps are just as important as the mechanical practice. A player who masters starter boss patterns but lacks the damage output for mid-game bosses will hit a wall that practice alone cannot overcome.
When to Attempt Your First World Boss
The transition from mid-game bosses to your first world boss attempt should happen only when you can clear mid-game targets without using healing items. This benchmark indicates that your pattern recognition, stamina management, and damage output are all at a level where world boss attempts are realistic rather than futile.
Your first world boss attempt should be treated as a learning experience rather than an expected clear. Focus on surviving as long as possible and observing the attack patterns, even if you do not land the kill. Each attempt teaches you something that makes the next one easier, and eventually the patterns click into place.
Frequently Asked Questions
What is the easiest boss to solo in Slayers 2?
The easiest bosses to solo are the starter-tier encounters available in the early game zones. These bosses feature slow attack animations, generous punish windows, and minimal AoE coverage, making them ideal for learning dodge timing and pattern recognition without harsh punishment for mistakes.
How do I learn Slayers 2 boss attack patterns quickly?
Focus on one boss at a time and spend your first few attempts purely observing rather than attacking. Watch for the visual tells that precede each move, note the recovery time after each attack, and identify the safe zones. This observational approach builds pattern knowledge faster than trial-and-error aggression.
What makes Slayers 2 world bosses so hard to solo?
World bosses combine fast attack chains, overlapping AoE zones, and enrage timers that punish slow play. Many also feature phase transitions that introduce new mechanics and adds that split your attention. These encounters are designed for parties, so solo clears demand near-perfect execution and optimized gear.
Do I need max level gear to solo bosses in Slayers 2?
No, but gear quality matters more for solo play than party play. Starter bosses are clearable with basic equipment, while mid-game bosses require upgraded gear for reasonable damage output. World bosses demand near-optimal builds because you cannot rely on teammates to compensate for lower stats.
Can every Slayers 2 boss be soloed?
Not every boss is realistically soloable at current gear levels. Some world bosses have split-mechanic requirements that demand multiple players, such as simultaneous pressure plates or adds that spawn on opposite sides of the arena. Community reports indicate that certain encounters remain uncleared by solo players regardless of skill or build optimization.