
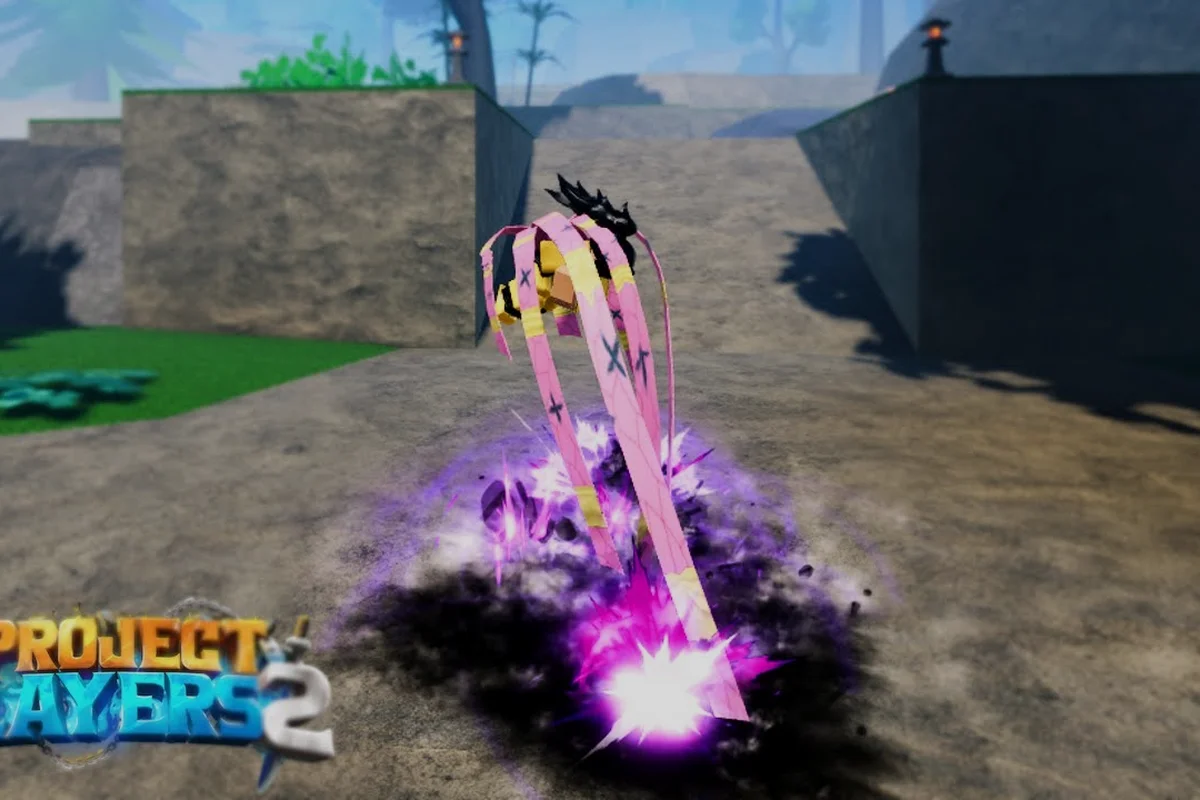
Choosing to walk the demon path in Slayers 2 reshapes your entire progression loop, but the decision is rarely permanent. Whether you picked a Demon Blood Art that underperforms in PvP or simply want to return to a Breathing Style, understanding the revert mechanic saves you from restarting a character. This guide breaks down the cure steps, reroll logic, and which Demon Arts are actually worth keeping.
Understanding the Demon State and Why Reverting Matters
Becoming a demon in Slayers 2 locks you into a specific Demon Blood Art tree that governs your combat identity. Unlike Breathing Styles, which can be swapped through trainers, demon arts carry heavier commitment because they scale with Demon Moon Ranks and require specific Beast Core investments to unlock advanced nodes. When a patch shifts the PvP meta or you realize your chosen art lacks the burst damage you expected, the revert mechanic becomes the only clean exit.
The official Slayers 2 game page on Roblox confirms the experience is an open-world survival RPG where build identity matters, and community data from the r/ProjectSlayers board consistently shows that players who rush into a demon transformation without checking art requirements often regret the choice within a few hours. The revert path exists precisely because Ouw Productions understands that experimentation should not cost you a full character reset.
What Reverting Actually Changes
Reverting from demon status does not wipe your account progress wholesale. Instead, it removes the Demon Blood Art tree, resets your Demon Moon Rank progression, and returns you to a human state where Breathing Styles become available again. Your clan, level, and inventory remain intact, which means the revert is a targeted reset rather than a full character wipe.
The key distinction is that Demon Art reroll and full revert are separate actions. A reroll swaps one demon art for another while keeping your demon status, whereas a revert cures the demon state entirely. Knowing which one you need prevents wasted resources, because the cure path often requires rarer materials than a simple reroll.
| Action | Effect on Demon Status | Effect on Demon Moon Rank | Effect on Clan/Level |
|---|---|---|---|
| Demon Art Reroll | Stays demon | Unchanged | Unchanged |
| Full Revert | Returns to human | Reset to zero | Unchanged |
| Character Reset | Returns to human | Reset to zero | Wiped |
How to Cure Demon Status: Step-by-Step Requirements
The cure process in Slayers 2 is gated behind a specific NPC interaction and material check, which means you cannot simply toggle the state off from a menu. According to community reports and player testing, the revert mechanic requires you to locate the Cure NPC in the main hub area, then present a Purification Token or equivalent item that drops from high-tier demon encounters. The exact item name has shifted across patches, so checking the official Ouw Productions Discord server announcement channel before farming is the safest approach.
The material requirement is the main friction point. Players report that Purification Tokens drop most reliably from Demon Moon bosses rather than standard mobs, which creates a catch-22 for players who want to leave the demon path but still need to fight demons to earn the cure item. This design choice forces you to engage with demon content one final time before the revert completes.
Cure Requirements Checklist
Before starting the revert process, confirm you have all of the following ready. Missing a single requirement means the NPC will refuse the interaction and you will need to farm again. This is especially punishing for the Purification Token, since Demon Moon bosses only spawn during the night cycle and their drop rate is not guaranteed — players below the level threshold often waste a full moon phase clearing the boss, only to discover the cure dialogue never appeared because they were flagged in combat or lacked the Wen fee.
-
Demon status active — you must currently be a demon to trigger the cure dialogue
-
Purification Token — drops from Demon Moon bosses, reported drop rate varies by rank
-
Minimum level threshold — some patches require level 50+ to access the cure NPC
-
No active combat state — the NPC refuses interaction if you are flagged in combat
-
Sufficient Wen — a small currency fee is applied on most servers
The level threshold is particularly important because it prevents new players from accidentally reverting before they understand the consequences. If you are below the threshold, the NPC dialogue simply does not appear, which some players misinterpret as a bug. On servers where the cure NPC requires level 50+, a level 48 player who clears a Demon Moon boss and holds a Purification Token will still see no interaction prompt — the game silently gates the cure behind both the level check and the combat-flag check, so the token sits unused in the inventory until the player grinds two more levels and returns during a fresh night cycle. This double-gating is intentional: it forces players to engage with Demon Blood Arts long enough to evaluate whether reverting is actually worth losing their current demon art reroll, rather than panic-curing after a single bad PvP loss.
Demon Art Reroll Mechanics and Requirements
Rerolling a Demon Blood Art follows a different resource path than curing. Instead of a Purification Token, you need Demon Beads or Beast Cores, depending on which art tier you are targeting. The reroll NPC is typically separate from the cure NPC, and the cost scales with your current Demon Moon Rank — higher ranks pay more per reroll because the potential art pool expands.
The reroll pool is not evenly weighted. Community testing on the r/ProjectSlayers subreddit indicates that common arts like Explosive Blood appear far more frequently than rare options like Dream Manipulation, which means you should budget for multiple rerolls if you are chasing a specific high-tier art. The official Ouw Productions YouTube channel showcases each art line in detail, so reviewing those videos before spending resources prevents buyer's remorse.
Reroll Cost Breakdown by Rank
The following table reflects community-reported costs as of the current patch. Exact numbers may shift with balance updates, so treat these as planning estimates rather than fixed values. For example, a Lower Moon 6 reroll at 5 Beast Cores may look cheap on paper, but with only an 8-art pool and a 12% rare art chance, you could burn through 40–50 Beast Cores before seeing a rare Demon Blood Art — resources that would cover two Upper Moon 1 rerolls at better odds. If you are planning a revert from demon into a specific PvP build, bank your Beast Cores until you can afford repeated Upper Moon 4 or Upper Moon 1 rolls instead of gambling early, because the rare art chance nearly triples from Lower Moon 6 to Upper Moon 1.
| Demon Moon Rank | Reroll Cost (Beast Cores) | Art Pool Size | Rare Art Chance |
|---|---|---|---|
| Lower Moon 6 | 5 | 8 | 12% |
| Lower Moon 3 | 12 | 12 | 18% |
| Upper Moon 4 | 20 | 16 | 25% |
| Upper Moon 1 | 35 | 20 | 32% |
The rare art chance column is based on aggregated player reports rather than official drop tables, so your mileage may vary. The trend is clear, though: higher ranks unlock better odds, which incentivizes progression before heavy reroll investment. That 12% Lower Moon 6 figure translates to roughly one rare Demon Blood Art per 8–9 rerolls in expectation, but variance is brutal at small sample sizes — you could go 20+ dry. By contrast, Upper Moon 1's 32% rare art chance means a 35 Beast Core roll fails to produce a rare roughly two out of three times, yet a 10-roll session (350 Beast Cores) has about a 98% chance of hitting at least one rare. For a revert from demon targeting a specific PvP Demon Blood Art, that math favors saving for fewer, higher-rank rolls over spamming Lower Moon 6 attempts where the 8-art pool also dilutes your odds of landing the exact art you want.
Best Demon Arts for PvP After a Reroll
If you are rerolling specifically for PvP performance, the meta has settled around a few standout Demon Blood Arts that offer consistent value across matchups. Explosive Blood remains a top pick for burst damage because its area denial forces opponents to reposition constantly, while Dream Manipulation provides crowd control that punishes aggressive rushdown players.
The Shockwave art line deserves special mention for its knockback utility, which interrupts Breathing Style combos and creates breathing room against close-range fighters. Meanwhile, Ice Manipulation offers the best defensive toolkit for players who prefer a reactive playstyle, though its damage ceiling is lower than the burst options.
PvP Art Tier Comparison
This tier ranking reflects community consensus from the r/ProjectSlayers board and Discord discussions, not official developer statements. It aggregates hundreds of post-nerf matchup reports where demon players tested each art against the current PvP meta after reverting from demon, with particular weight given to clips showing how quickly a Blood Art can confirm into M1 combos or punish whiffed heavy attacks. Balance patches can shift these positions quickly—for example, a single tweak to Explosive Blood's cooldown or Dream Manipulation's stun duration has historically moved arts up or down a full tier within days of a patch going live.
| Art Name | PvP Role | Burst Damage | Utility | Skill Floor |
|---|---|---|---|---|
| Explosive Blood | Area denial | High | Medium | Low |
| Dream Manipulation | Crowd control | Medium | High | Medium |
| Shockwave | Knockback punish | Medium | High | Low |
| Ice Manipulation | Defensive zoning | Low | High | Medium |
| Tamari | Sustained pressure | Medium | Medium | High |
The skill floor column matters more than most players expect. A low floor means you can extract value from the art quickly, which is ideal if you are still learning demon combat fundamentals. High-floor arts like Tamari reward mastery but feel underwhelming in the hands of a new demon player.
Reverting vs. Rerolling: Decision Framework
The choice between a full revert and a targeted reroll depends on your long-term goal. If you want to return to Breathing Styles entirely, the revert is the only path that unlocks those trainers again. If you simply dislike your current art but want to stay on the demon progression track, a reroll is cheaper and faster.
Consider your Demon Moon Rank investment before reverting. Ranks do not transfer to human progression, so a player who spent weeks climbing to Upper Moon 2 loses all that progress on revert. The demon arts overview guide covers the full progression tree if you need to evaluate what you are giving up.
Decision Checklist
Run through these questions before committing to either action. The answers determine which path costs less in the long run. A player who rerolls a Demon Art at Upper Moon 1 without checking the cure level threshold first may burn Beast Cores on an art they cannot even equip yet, while a player who rushes the revert without confirming they actually want Breathing Styles back ends up paying the full Demon Moon Rank climb twice. Treat this checklist as a cost-benefit gate: each "yes" pushes you toward one path, each "no" reveals a hidden expense you would otherwise discover only after losing hours of progression.
-
Do you want Breathing Styles back? — If yes, revert is mandatory
-
Is your current art underperforming in PvP? — If yes, reroll first and test alternatives
-
Have you invested heavily in Demon Moon Ranks? — If yes, reroll preserves that investment
-
Are you below the cure level threshold? — If yes, farm levels before attempting revert
-
Do you have spare Beast Cores? — If yes, reroll costs are manageable
The Demon Moon Rank question is the most overlooked factor. Players who revert at Upper Moon 1 and later decide they want to return to demon status must climb the entire rank ladder again, which represents dozens of hours of lost progression.
Demon Blood Arts: Requirements and Progression Gates
Every Demon Blood Art in Slayers 2 has a minimum Demon Moon Rank requirement before you can unlock its advanced nodes. The base art is available immediately upon transformation, but the strongest abilities sit behind rank gates that force you to engage with the demon progression loop. Understanding these requirements before choosing an art prevents the frustration of picking a tree you cannot fully access.
The demon moon ranks guide breaks down the full rank ladder and where to farm the required materials. For this article, the key takeaway is that art requirements are not uniform — some trees unlock their core combo at Lower Moon 4, while others gate the signature move behind Upper Moon 2.
Art Requirement Comparison
The table below shows the rank requirement for each art's signature ability, based on community-reported data. These gates are the primary reason players reroll after realizing their chosen art peaks too late. For example, a player who picks Ice Manipulation expecting an early power spike will hit a wall: Glacial Prison demands Upper Moon 6, which requires grinding through multiple Lower Moon ranks and accumulating 22 Beast Cores before the art's core control tool even comes online. In contrast, Explosive Blood grants Volatile Burst at Lower Moon 5 for just 8 Beast Cores, making it a far more forgiving starter for players who plan to cure their demon and respec later — since the opportunity cost of abandoning a low-rank art is minimal compared to sinking 30 cores into Tamari's Blood Puppet only to discover it doesn't fit their PvP playstyle.
| Art Name | Signature Ability | Rank Requirement | Beast Core Cost |
|---|---|---|---|
| Explosive Blood | Volatile Burst | Lower Moon 5 | 8 |
| Dream Manipulation | Nightmare Grip | Lower Moon 2 | 15 |
| Shockwave | Seismic Rupture | Lower Moon 3 | 12 |
| Ice Manipulation | Glacial Prison | Upper Moon 6 | 22 |
| Tamari | Blood Puppet | Upper Moon 3 | 30 |
The Beast Core cost column reflects the total investment to unlock the signature ability, not just the initial art unlock. Players who want early power spikes should target arts with low rank requirements, while those planning long-term demon progression can afford to invest in the high-ceiling options.
Frequently Asked Questions
How do I revert from demon in Slayers 2?
You need to locate the Cure NPC in the main hub and present a Purification Token that drops from Demon Moon bosses. The NPC also checks your level and combat state before allowing the revert. Once confirmed, your demon status clears and Breathing Style trainers become available again.
What is the difference between curing and rerolling a demon art?
Curing removes your demon status entirely and resets your Demon Moon Rank to zero, while rerolling swaps your current Demon Blood Art for a different one without touching your rank progression. Rerolling is cheaper and faster if you want to stay on the demon path.
Which demon art is best for PvP in Slayers 2?
Explosive Blood leads the meta for burst damage and area denial, while Dream Manipulation offers strong crowd control against aggressive players. Shockwave is a solid third pick for its knockback utility. The best choice depends on your preferred playstyle and skill floor tolerance.
What are the requirements to unlock advanced demon art abilities?
Each art gates its signature ability behind a specific Demon Moon Rank and Beast Core investment. For example, Explosive Blood unlocks Volatile Burst at Lower Moon 5 for 8 cores, while Tamari requires Upper Moon 3 and 30 cores. Check the art tree before committing.
Can I get my Demon Moon Rank back after reverting?
No, reverting resets your Demon Moon Rank progression completely. If you later decide to become a demon again, you must climb the rank ladder from scratch. This is why players with heavy rank investment often prefer a targeted reroll over a full revert.
Reverting from demon status in Slayers 2 is a deliberate choice with real progression costs, but the mechanic exists to prevent build regret from ruining your experience. Whether you cure the demon state entirely or reroll into a better Demon Blood Art, the key is understanding the material requirements and rank gates before committing. Plan your exit as carefully as you planned your transformation, and the demon path becomes a flexible experiment rather than a permanent trap.